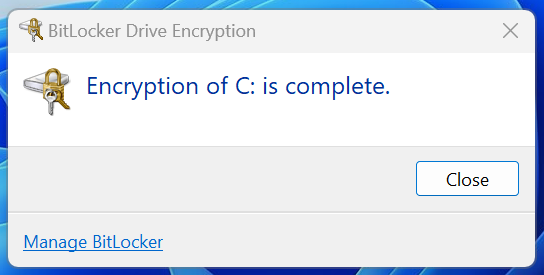

Device Encryption Notification

Last updated: Mar 07, 2024
67
views

Hello! This article will guide you through resolving the notification informing you that your machine needs to be encrypted.
Encrypting your device takes a minute or two to get started and will run in the background while you continue to work. In some cases, the process can mildly slow down your computer, so it's not bad idea to run it when taking a break or at the end of the day. In most cases the process takes 10-20 minutes to complete.
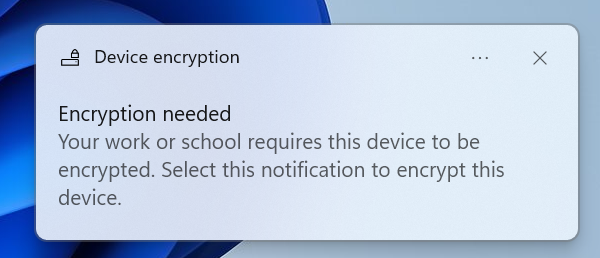
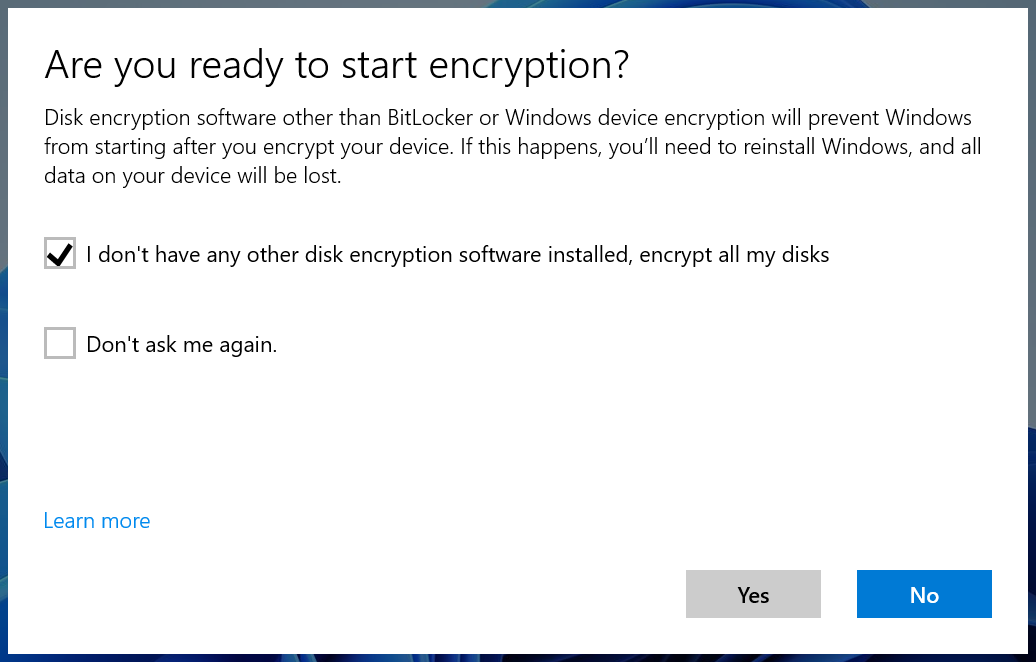
- After clicking on the notification Windows will open the encryption wizard. Start by selecting the first option: I don't have any other disk encryption software installed, encrypt all my disks, then click Yes.
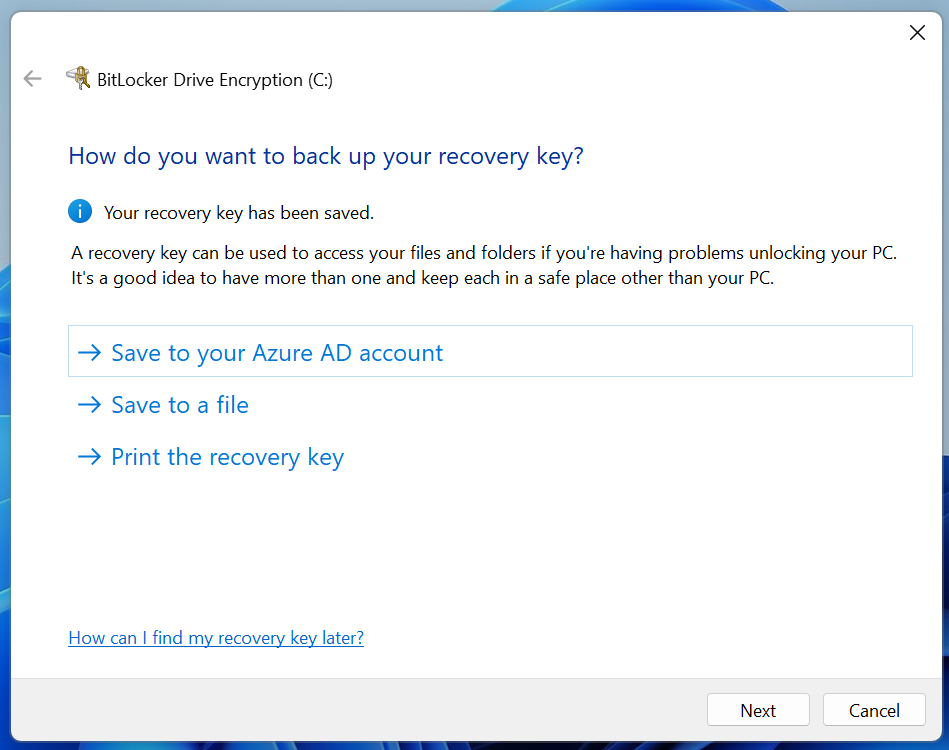
- Select Save to your Azure AD account. When successful, the text Your recovery key has been saved will appear under the window header. Then click Next.
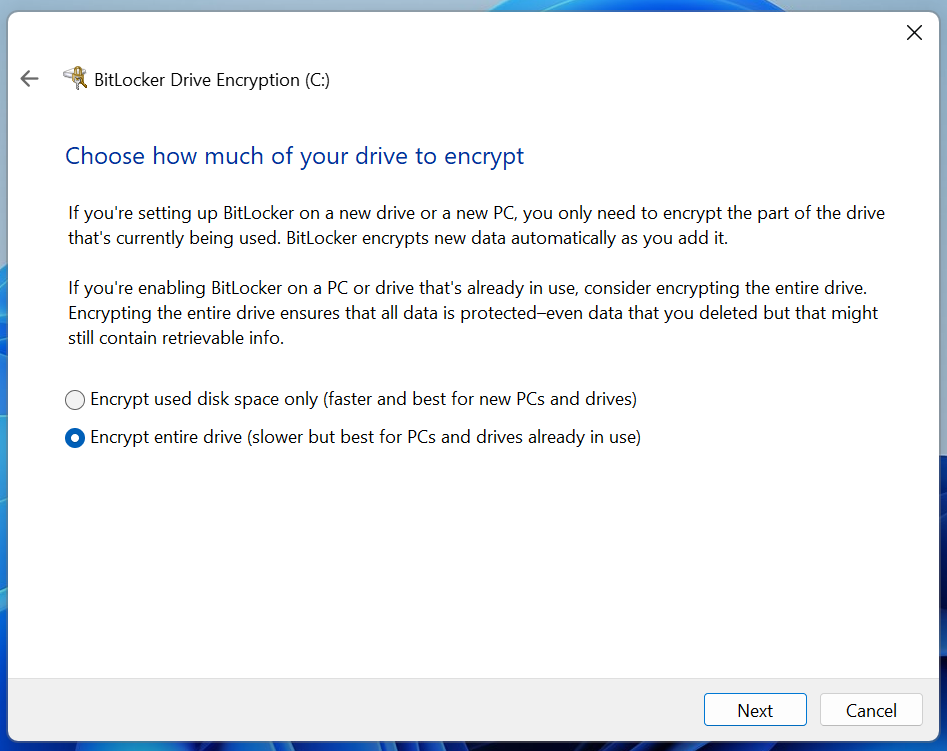
- Select Encrypt entire drive, then click Next.
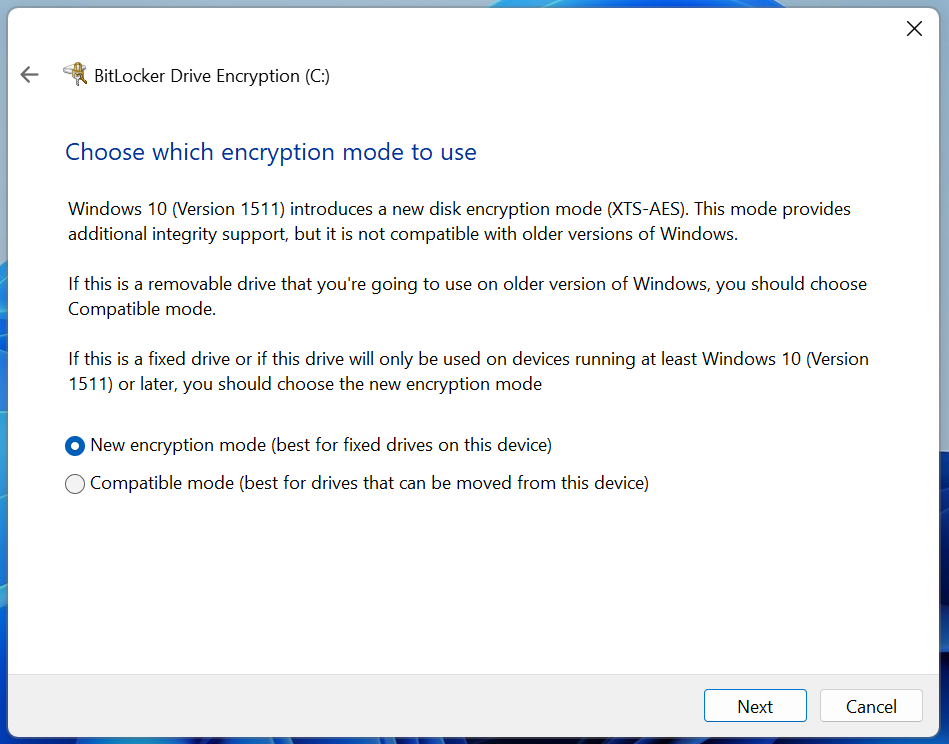
- Select New encryption mode, then click Next.
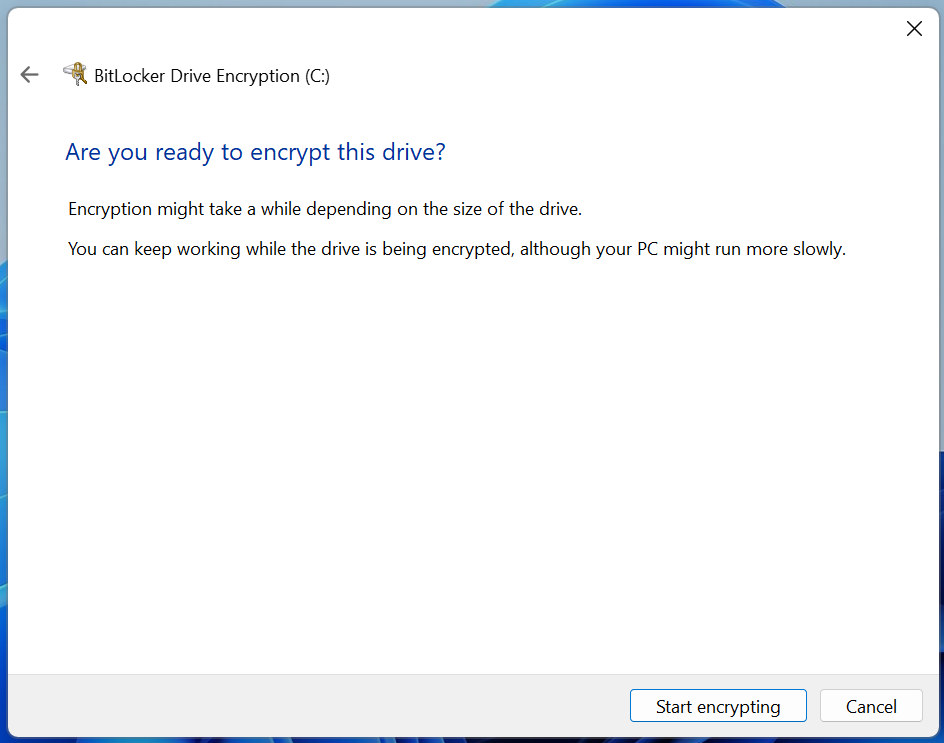
- Select Start encrypting.
- While encrypting, the dialogue box BitLocker Drive Encryption will stay open. Do not close the dialogue box, however, you can open applications over the top of it and continue to work.
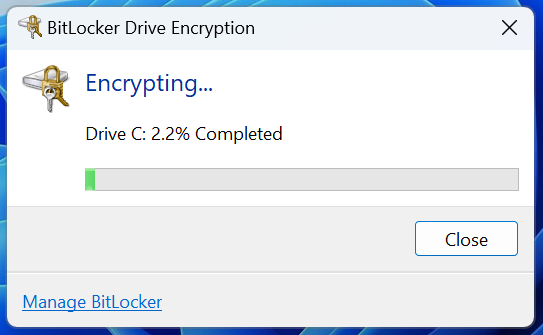
- Once complete, you will see the dialogue box update to say as much. The process is now complete and you can safely close the box.